DIY Halloween Photo Props/Photo Stand Ins
October 7, 2013 by ThePartyAnimal
Filed under Crafts
 Add some extra fun to your Halloween Party by creating some Halloween Photo Props. I am going to share with you just how EASY they are to make at home and they will be a huge hit at your party for sure.
Photo Props/Photo Stand Ins – whatever you want to call them are so much fun – the kids will love having their picture taken in these funny props at your party. Then after the party you can crop and print them out and send as a thank you to the party guest to keep. You can buy these in the stores, but I think it is was cheaper and more fun to make yourself and you can even get your kids to help.
Being I was making some Halloween Photo Props this year I figured I would share with you how I did it. Now the ones I made are not for a kids party, but for the nursing home where I work as an Activity Assistant. They are having their Halloween Party coming up and I was asked to create some of these for them. I did them smaller than I normally do so that those in wheelchairs can just set them on their laps for photos. But the size I did are perfect for the kids as well.
This is what I used to create my Halloween Photo Props:
- Foam Board – I believe it is 28″ x 22″
- Pencil
- Black Sharpie Marker
- Eraser
- Crayons
- Razor Knife
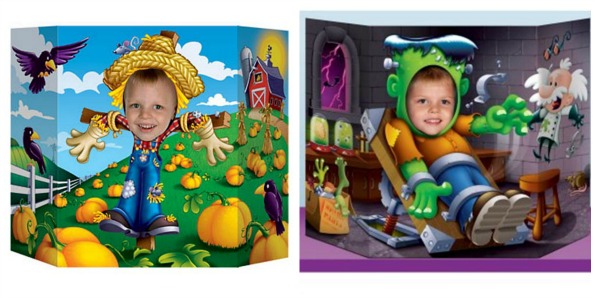 First I looked up some inspiration for my props. I can draw, but I am much better with something to copy. Yup I call myself a copy cat artist – I can look at a picture and recreate it, my specialty. So I found this Scarecrow Photo Prop
![]()
and this Frankenstein Photo Prop![]() and decided I was going to recreate them myself. So don’t freak out if your not an artist – just do what I did and anyone can do it. It does not have to be perfect because that is the fun of these anyways.
and decided I was going to recreate them myself. So don’t freak out if your not an artist – just do what I did and anyone can do it. It does not have to be perfect because that is the fun of these anyways.
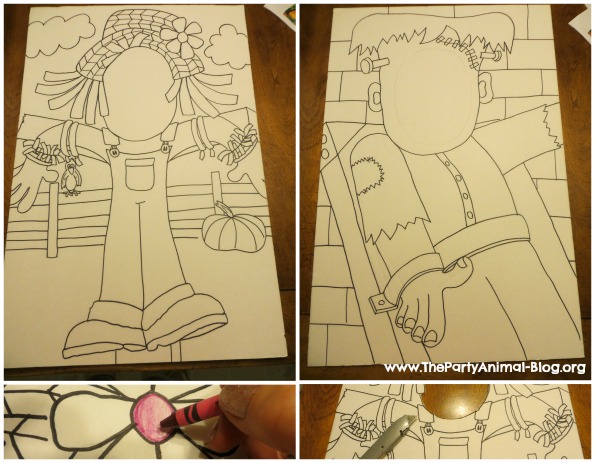 The next thing I did was use a pencil (so you can erase) and draw out my designs. Make sure the area that you will be cutting out for the head is big enough for one – don’t make it too big or too small. A good way to judge is take a piece of paper and hold it up to your child’s head for a good size reference.
Then go over your pencil with your Black Sharpie Marker. Erase and pencil lines you may have left behind uncovered. Now it looks like a giant coloring book page and ready to be colored. You can have the kids do this part too!!
I prefer to use crayons because they cover easier and quicker than markers, but that’s my preference. Also when I use crayons I outline everything to give it more depth and dimension – I like that look.
Once you are done coloring carefully cut out the head shape and you are done!!
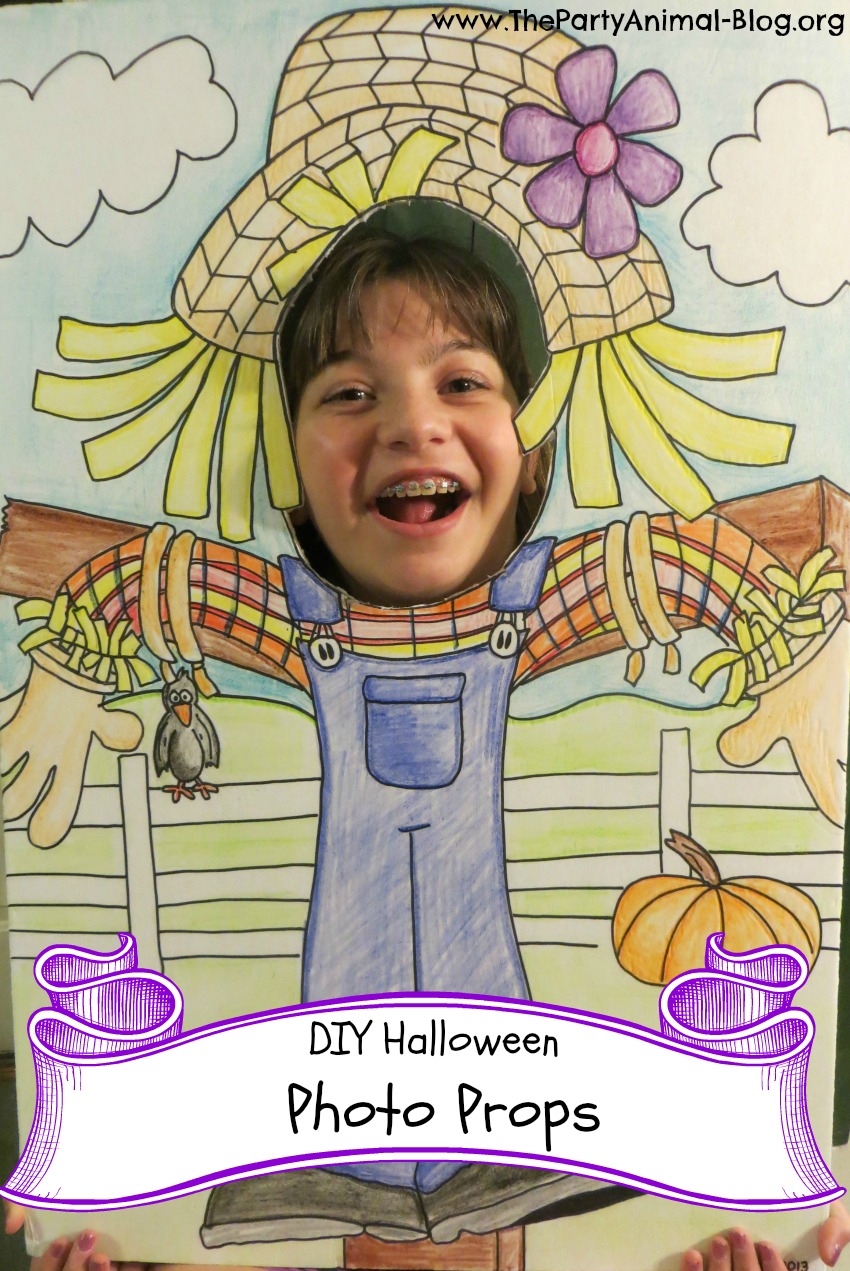
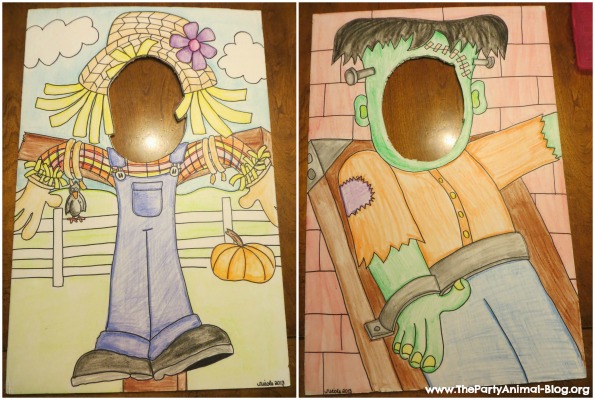 And here are my finished photo props – I think they came out awesome if I do say so myself. I truly think anyone can do this and foam board is so cheap and having these at your Halloween Party will only add to the fun and memories!!
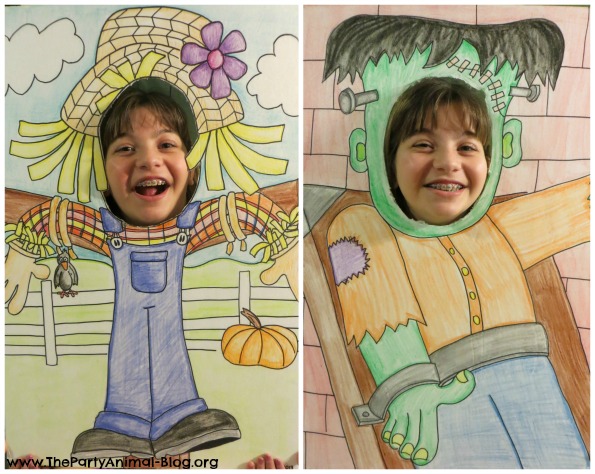 Of course my daughter had to test them out – lol
Is that fun or what?
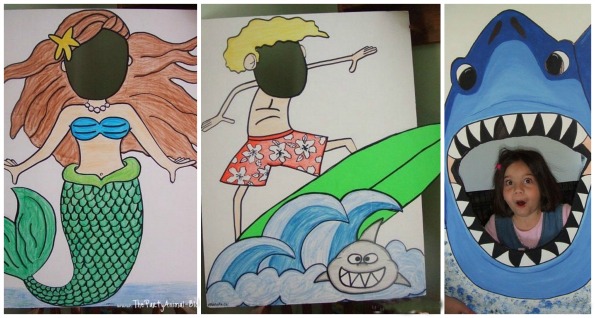 Here are a few others I have made over the years for other parties and I tell you they are always a hit with the little ones and the adults too!!
So get out those crayons and get to work!! I think I may have to make some more myself for my party too.


